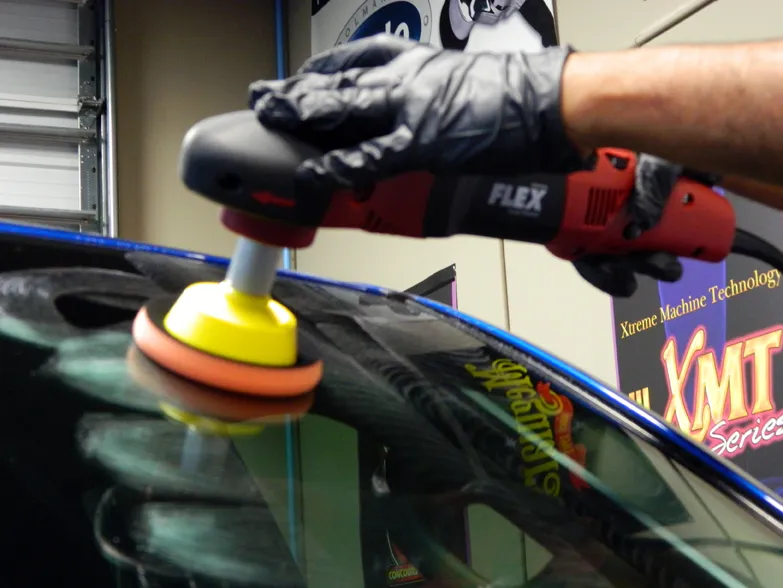
Polishing glass properly with the right glass polish can make all the difference between an acceptable result and one you will be proud of. Whether it is for a window, mirror, or furniture piece, learning how to polish glass like a pro can save time and money in the long run. To help you get started on your next project, here are some tips and tricks from the experts for easily polishing glass.

First thing’s first – use the right glass polish.
The type of product you choose depends on what kind of finish you want. If you’re looking for a high-gloss shine, then look for a product specifically designed for that purpose. If you are dealing with scratches or etching on the surface, then an abrasive cleaner may be more suitable. Be sure to read and follow all instructions carefully when using any product containing chemicals to avoid damaging your surfaces.
1: Preparing Your Glass Surface
Before starting your polishing work, take the time to prepare your surface properly by cleaning away any dirt and debris with a damp cloth or sponge. This will make sure that no particles get trapped underneath while polishing and create uneven results afterward. Additionally, make sure to wear protective gloves during this process as cleaners can cause skin irritation if not handled correctly.
2: Choosing the Right Cloth
The key to achieving professional results lies in finding the right materials to use when polishing your glass surfaces. Many people mistakenly believe that paper towels are sufficient but they don’t provide enough absorbency nor do they have enough padding which can cause scratching if used too vigorously while rubbing down surfaces. Instead, opt for lint-free cotton cloths such as microfiber cloths which are ideal for picking up dust particles without leaving behind streaks or smudges on surfaces afterward.
3: Applying the Polish
Now that everything is prepped and ready, it’s time to start applying the polish to your surfaces using circular motions, starting from one corner of your area and working outwards towards the centre until it’s evenly spread over the entire area, making sure that no excess product is left behind afterwards as this could lead to unsightly marks later on. Take care not to press too hard during this step, however, as this could cause small indentations or damage delicate pieces of glassware if you repeatedly rub them down with direct pressure rather than gently buffing them.
4: Buffing out streaks and stains
After giving your polish enough time to set (usually anywhere from 10 minutes – 1 hour depending on the type used), it’s now time to buff out any streaks or smudges still left behind using either the clean, lint-free microfibre cloths mentioned above or even soft terry towels which are great at removing any excess residue without causing further damage during removal either way, once again working in circles outwards through each section until you’re finally satisfied with the end result achieved.

5: Maintain your polished surfaces
Once finished always remember to never leave freshly polished surfaces exposed directly to sunlight whenever possible due to their higher sensitivity levels leading them to fade much quicker than normal otherwise resulting in needing upkeep tasks done more frequently than desired sometimes even needing complete redos done entirely shortly after initial applications did previously so always keep these factors in mind before taking final steps afterward implementing extra protective measures necessary avoiding bigger problems arising later on too thus saving both yours plus others involved lots of precious energy & valuable resources along the way overall especially financially speaking obviously speaking ultimately speaking eventually regardless though thankfully still.

